One thing I love about sourdough is exactly what every beginner hates- it’s so variable. The health and makeup of your starter, type of flour you use, ambient temperature, altitude, timing, your mood, and who-knows-what else have an effect on how your bread turns out. But don’t look at it from a place of overwhelm- it’s an art which connects you to all of these factors which make up your environment, and cultivates mindfulness, pattern recognition, knowledge, and- eventually- confidence, in you. When you take on sourdough, you develop your own practice, unique to your home, in partnership with a little jar of starter consisting of billions of tiny lives for your leavening pleasure. It’s another little thing you can do to cultivate connection.
I have been baking my own sourdough for years now, but have never told anyone else how I do it. This isn’t because it’s any sort of great secret; I have just been experimenting all this time, and didn’t feel right about teaching about something I’m only just learning myself. Well, these last few months (I’m not sure how long, really), I’ve settled into a routine with my weekly sourdough baking which I seldom deviate from, and which delivers pretty consistent results- good, hearty loaves with a healthy balance of solid nutrition (from freshly ground and properly prepared whole grain) and lift. Do keep in mind as you read that any measurements I make are estimates. I mentioned that your sourdough practice will be unique to your home; mine is unique to mine, in that I do practically nothing by the book (a lifelong character trait). There’s a good chance you’ve looked at enough free sourdough recipes online to last you a lifetime of experimentation… I offer you instead a process broad and simple, and most importantly, a vantage point from which you can see how a sourdough baking practice can fit in a life. Hopefully you’ll come away with inspiration on how it can fit in yours.
But don’t look at it from a place of overwhelm- it’s an art which connects you to all of these factors which make up your environment, and cultivates mindfulness, pattern recognition, knowledge, and- eventually- confidence, in you. When you take on sourdough, you develop your own practice, unique to your home, in partnership with a little jar of starter consisting of billions of tiny lives for your leavening pleasure. It’s another little thing you can do to cultivate connection.
Feeding the starter
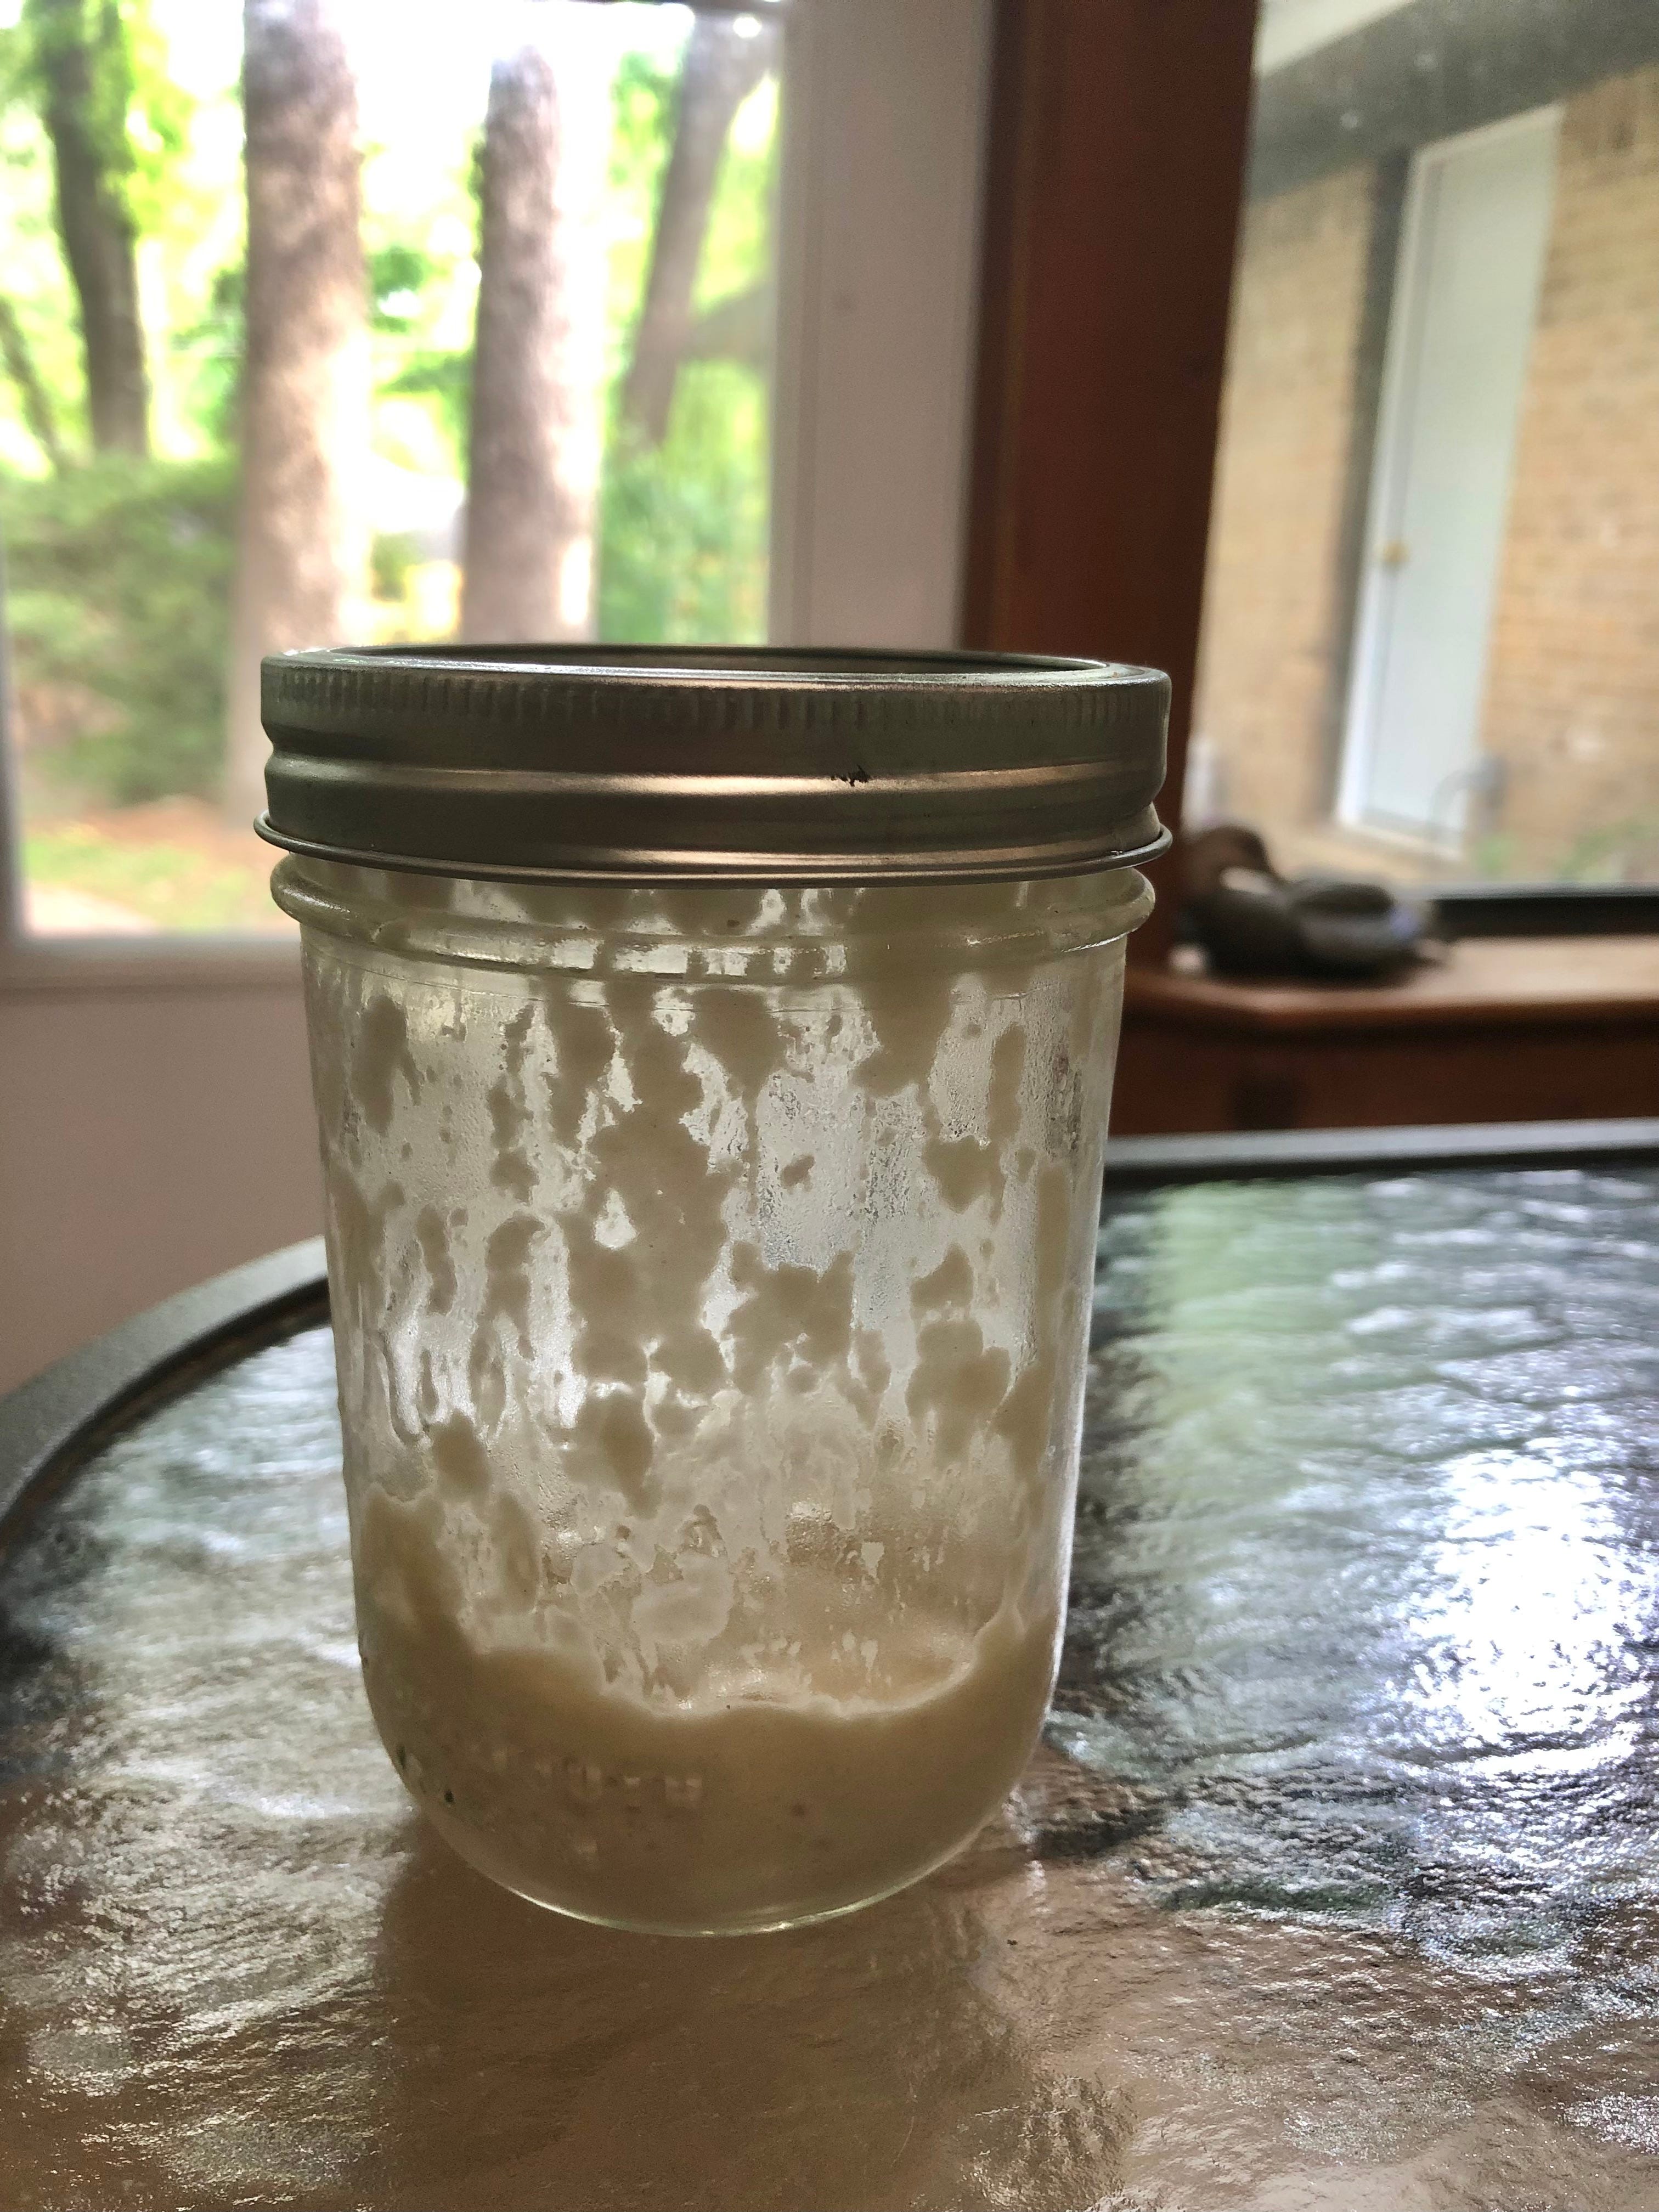
1300-ish: I’m in the kitchen getting lunch about this time. Eloise, my sourdough starter, lives in the fridge most of the time- typically consisting of about 1/4-1/2 a cup of starter in a pint size mason jar. I take Eloise out of the fridge, dump a bit less than a cup of organic bread flour (no measuring here- I just dump straight from the bag) into her jar, and then dispense about the same amount of filtered water directly from my Berkey filter. I use a clean fork to mix the flour, water, and starter into a thickish slurry- not runny, but not clumpy. The jar is half full at this point. I replace the lid, leave Eloise to do her thing on the counter, have my lunch, and go about my day.
Starting the loaf
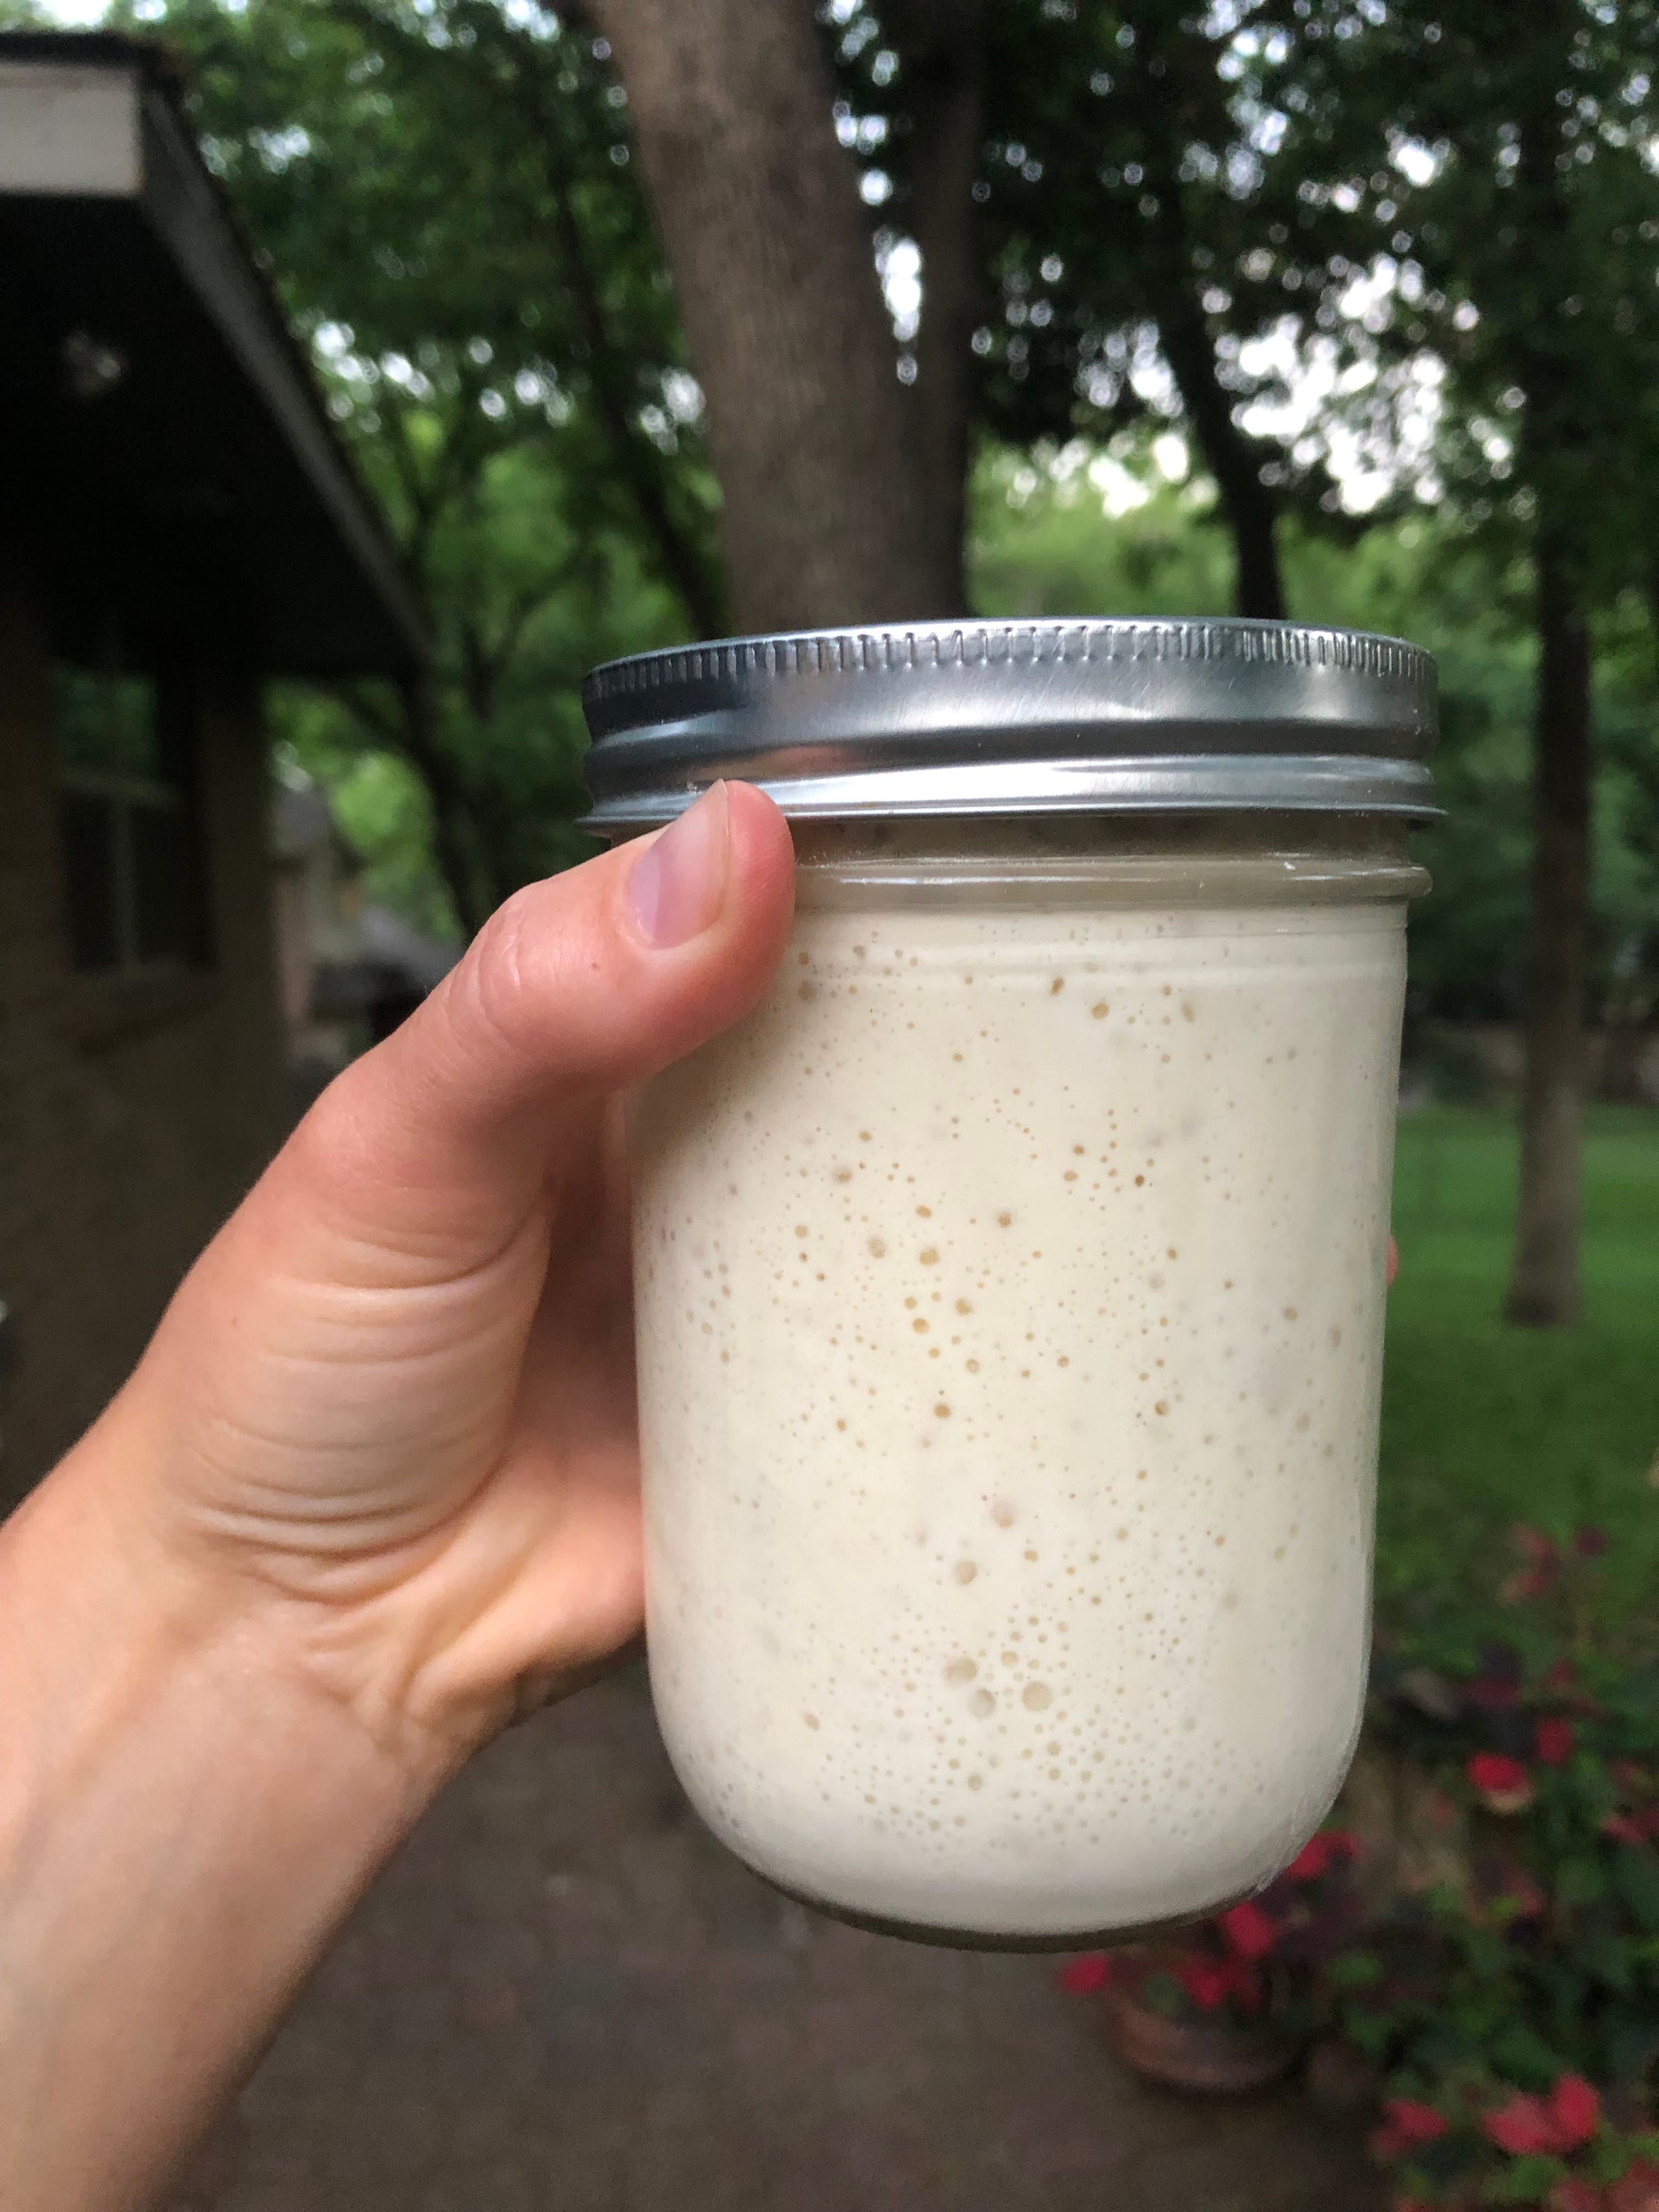
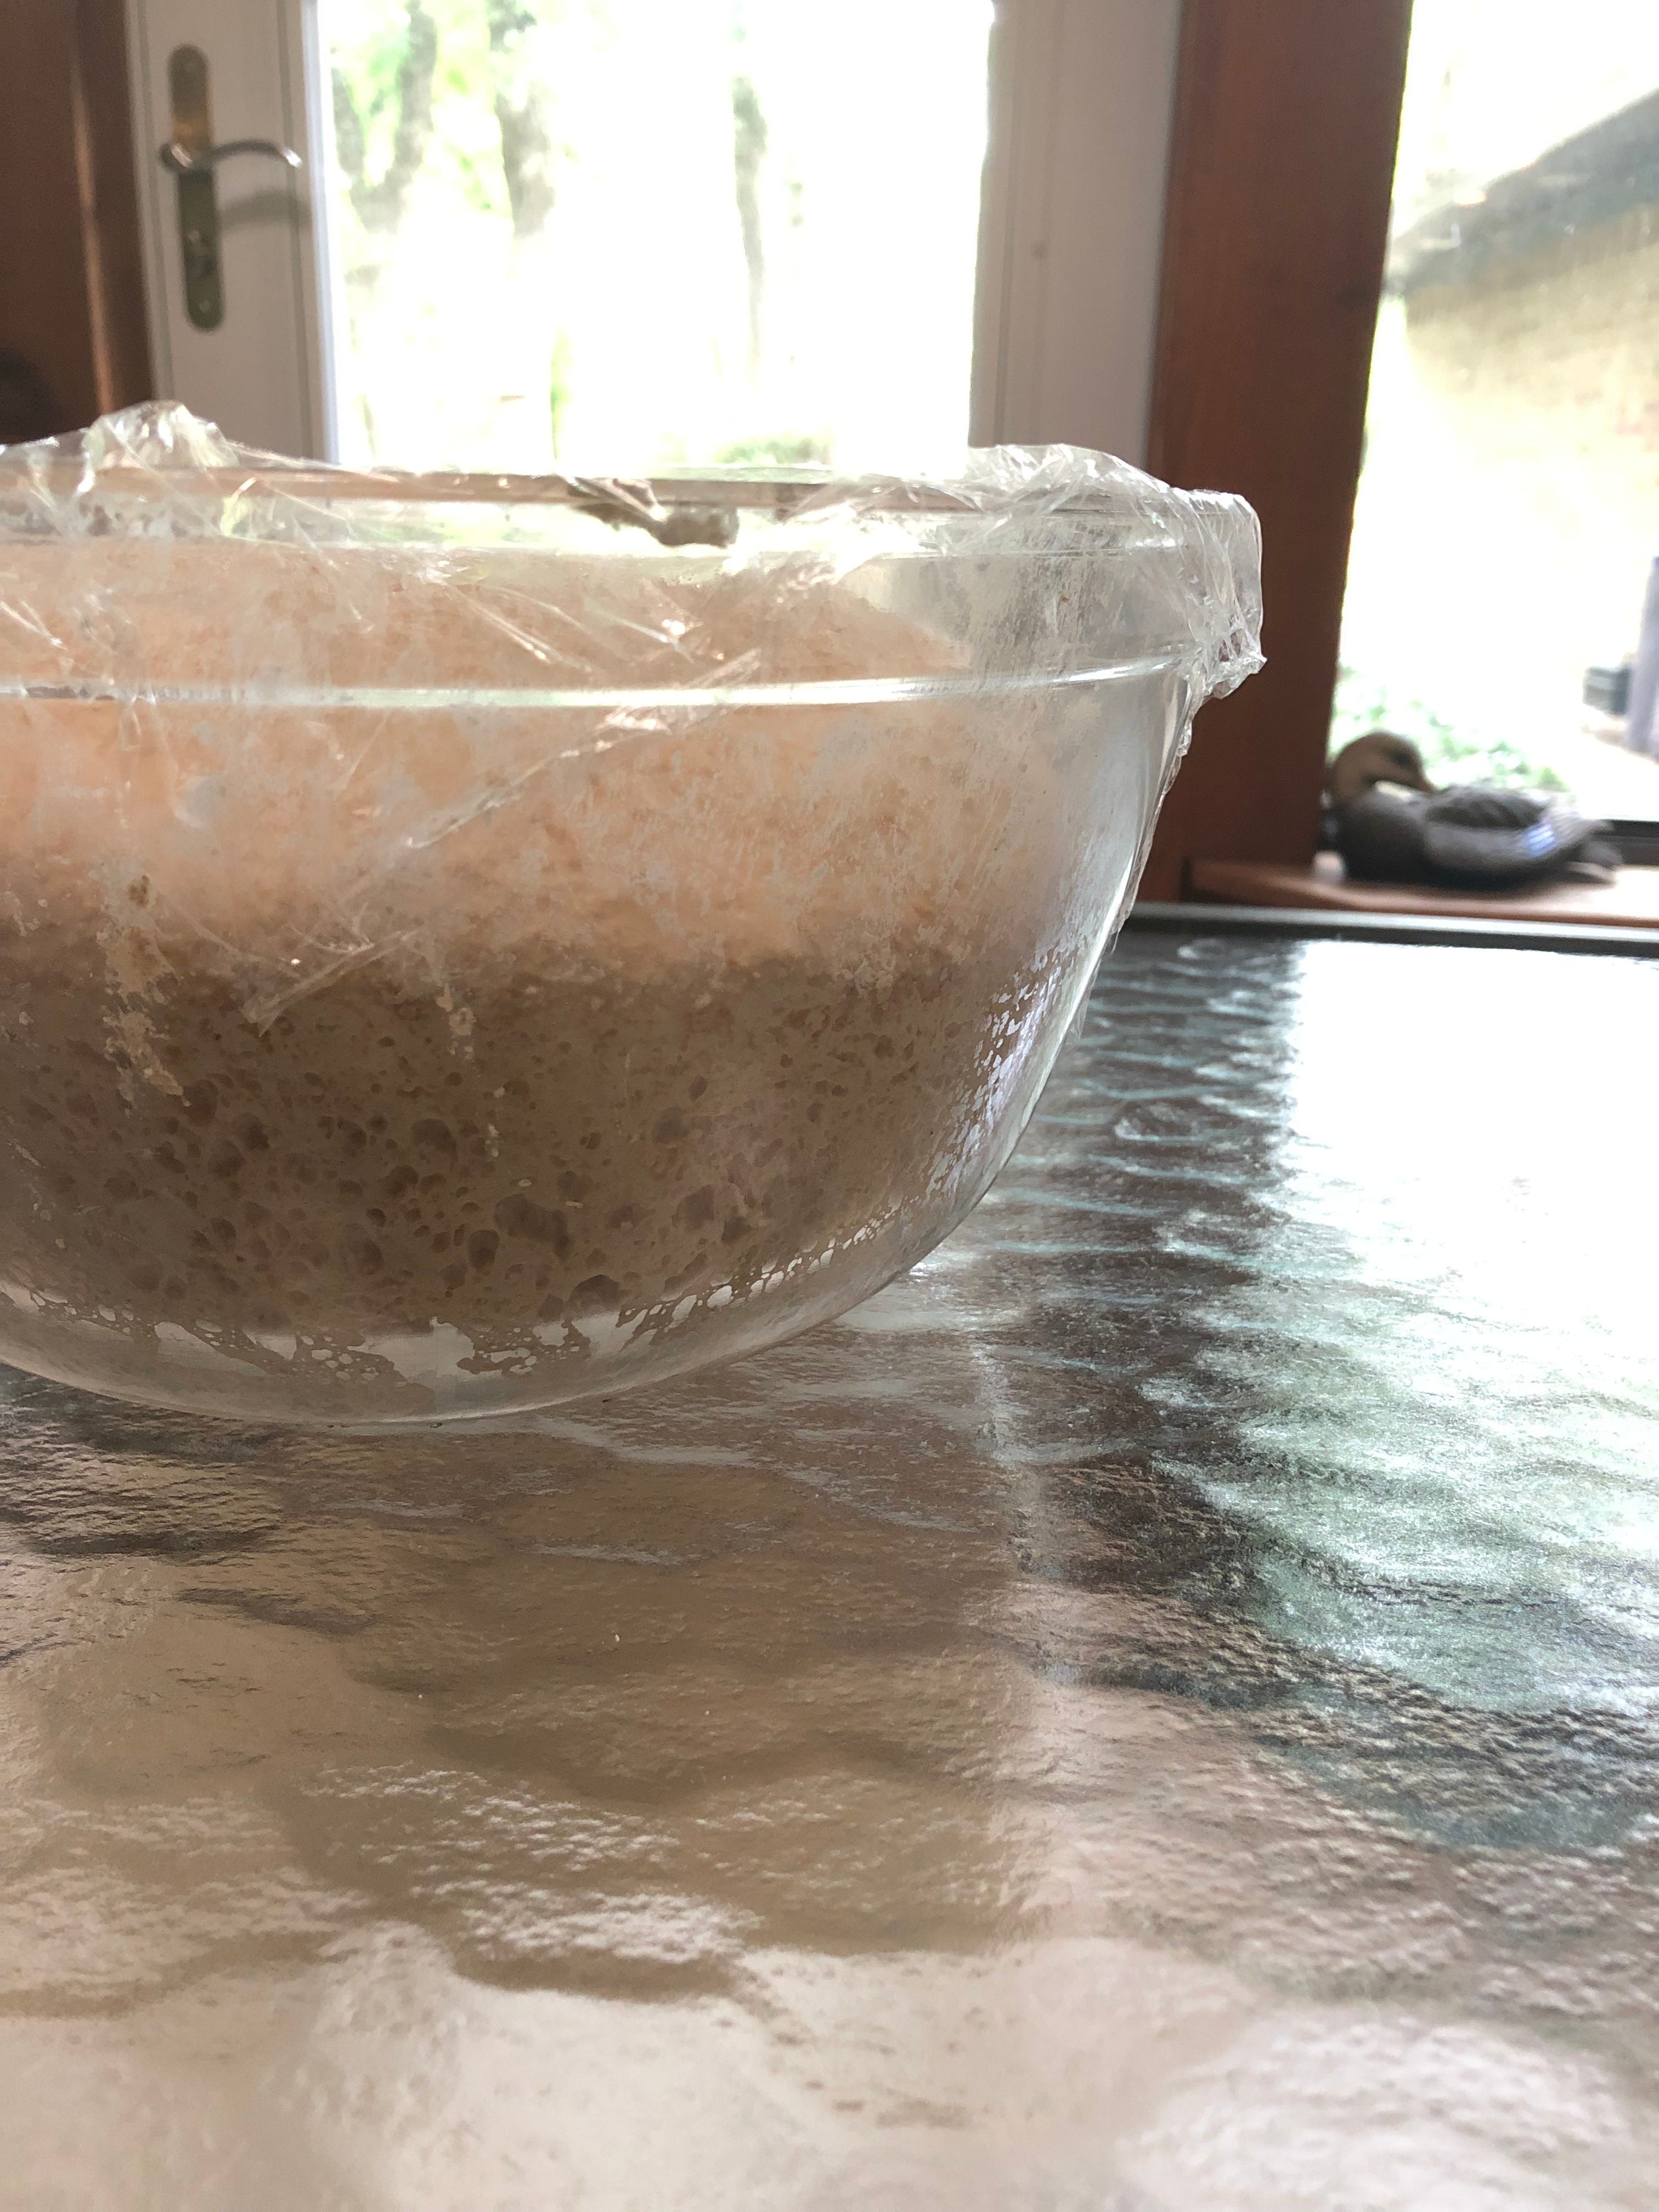
Somewhere between 1800 and 2100: Eloise shows appreciation for the food by filling her jar to the very top- sometimes blowing past the lid (which is a mere formality, apparently) if I get around to starting my bread too late in the evening. Warmer weather will also cause her to bubble up faster; The time I end up starting the bread after feeding the starter will vary based on the ambient temperature and my schedule.
I gather my ingredients: Eloise, a pint of filtered water, Redmond Real salt (my favorite), organic bread flour, and my bucket of wheat berries. I use a Vitamix blender to grind the berries into flour; I use the dry ingredient pitcher to scoop about 3 cups out of the bucket, put the lid on, and give it a good long buzz on high power. Because they are whole and have their germ intact, it is always best to use fresh ground flour as soon as possible, as the fat content becomes unstable and the vitamin E levels decrease if it sits too long.
Now, I pour the water into a big glass mixing bowl. I then dump the starter in, leaving only what sticks to the sides and bottom of the jar. The starter (which just looks like a goopy jar at this point) goes back into the fridge as is, until it’s time to bake again next week. Your starter should float in the water.
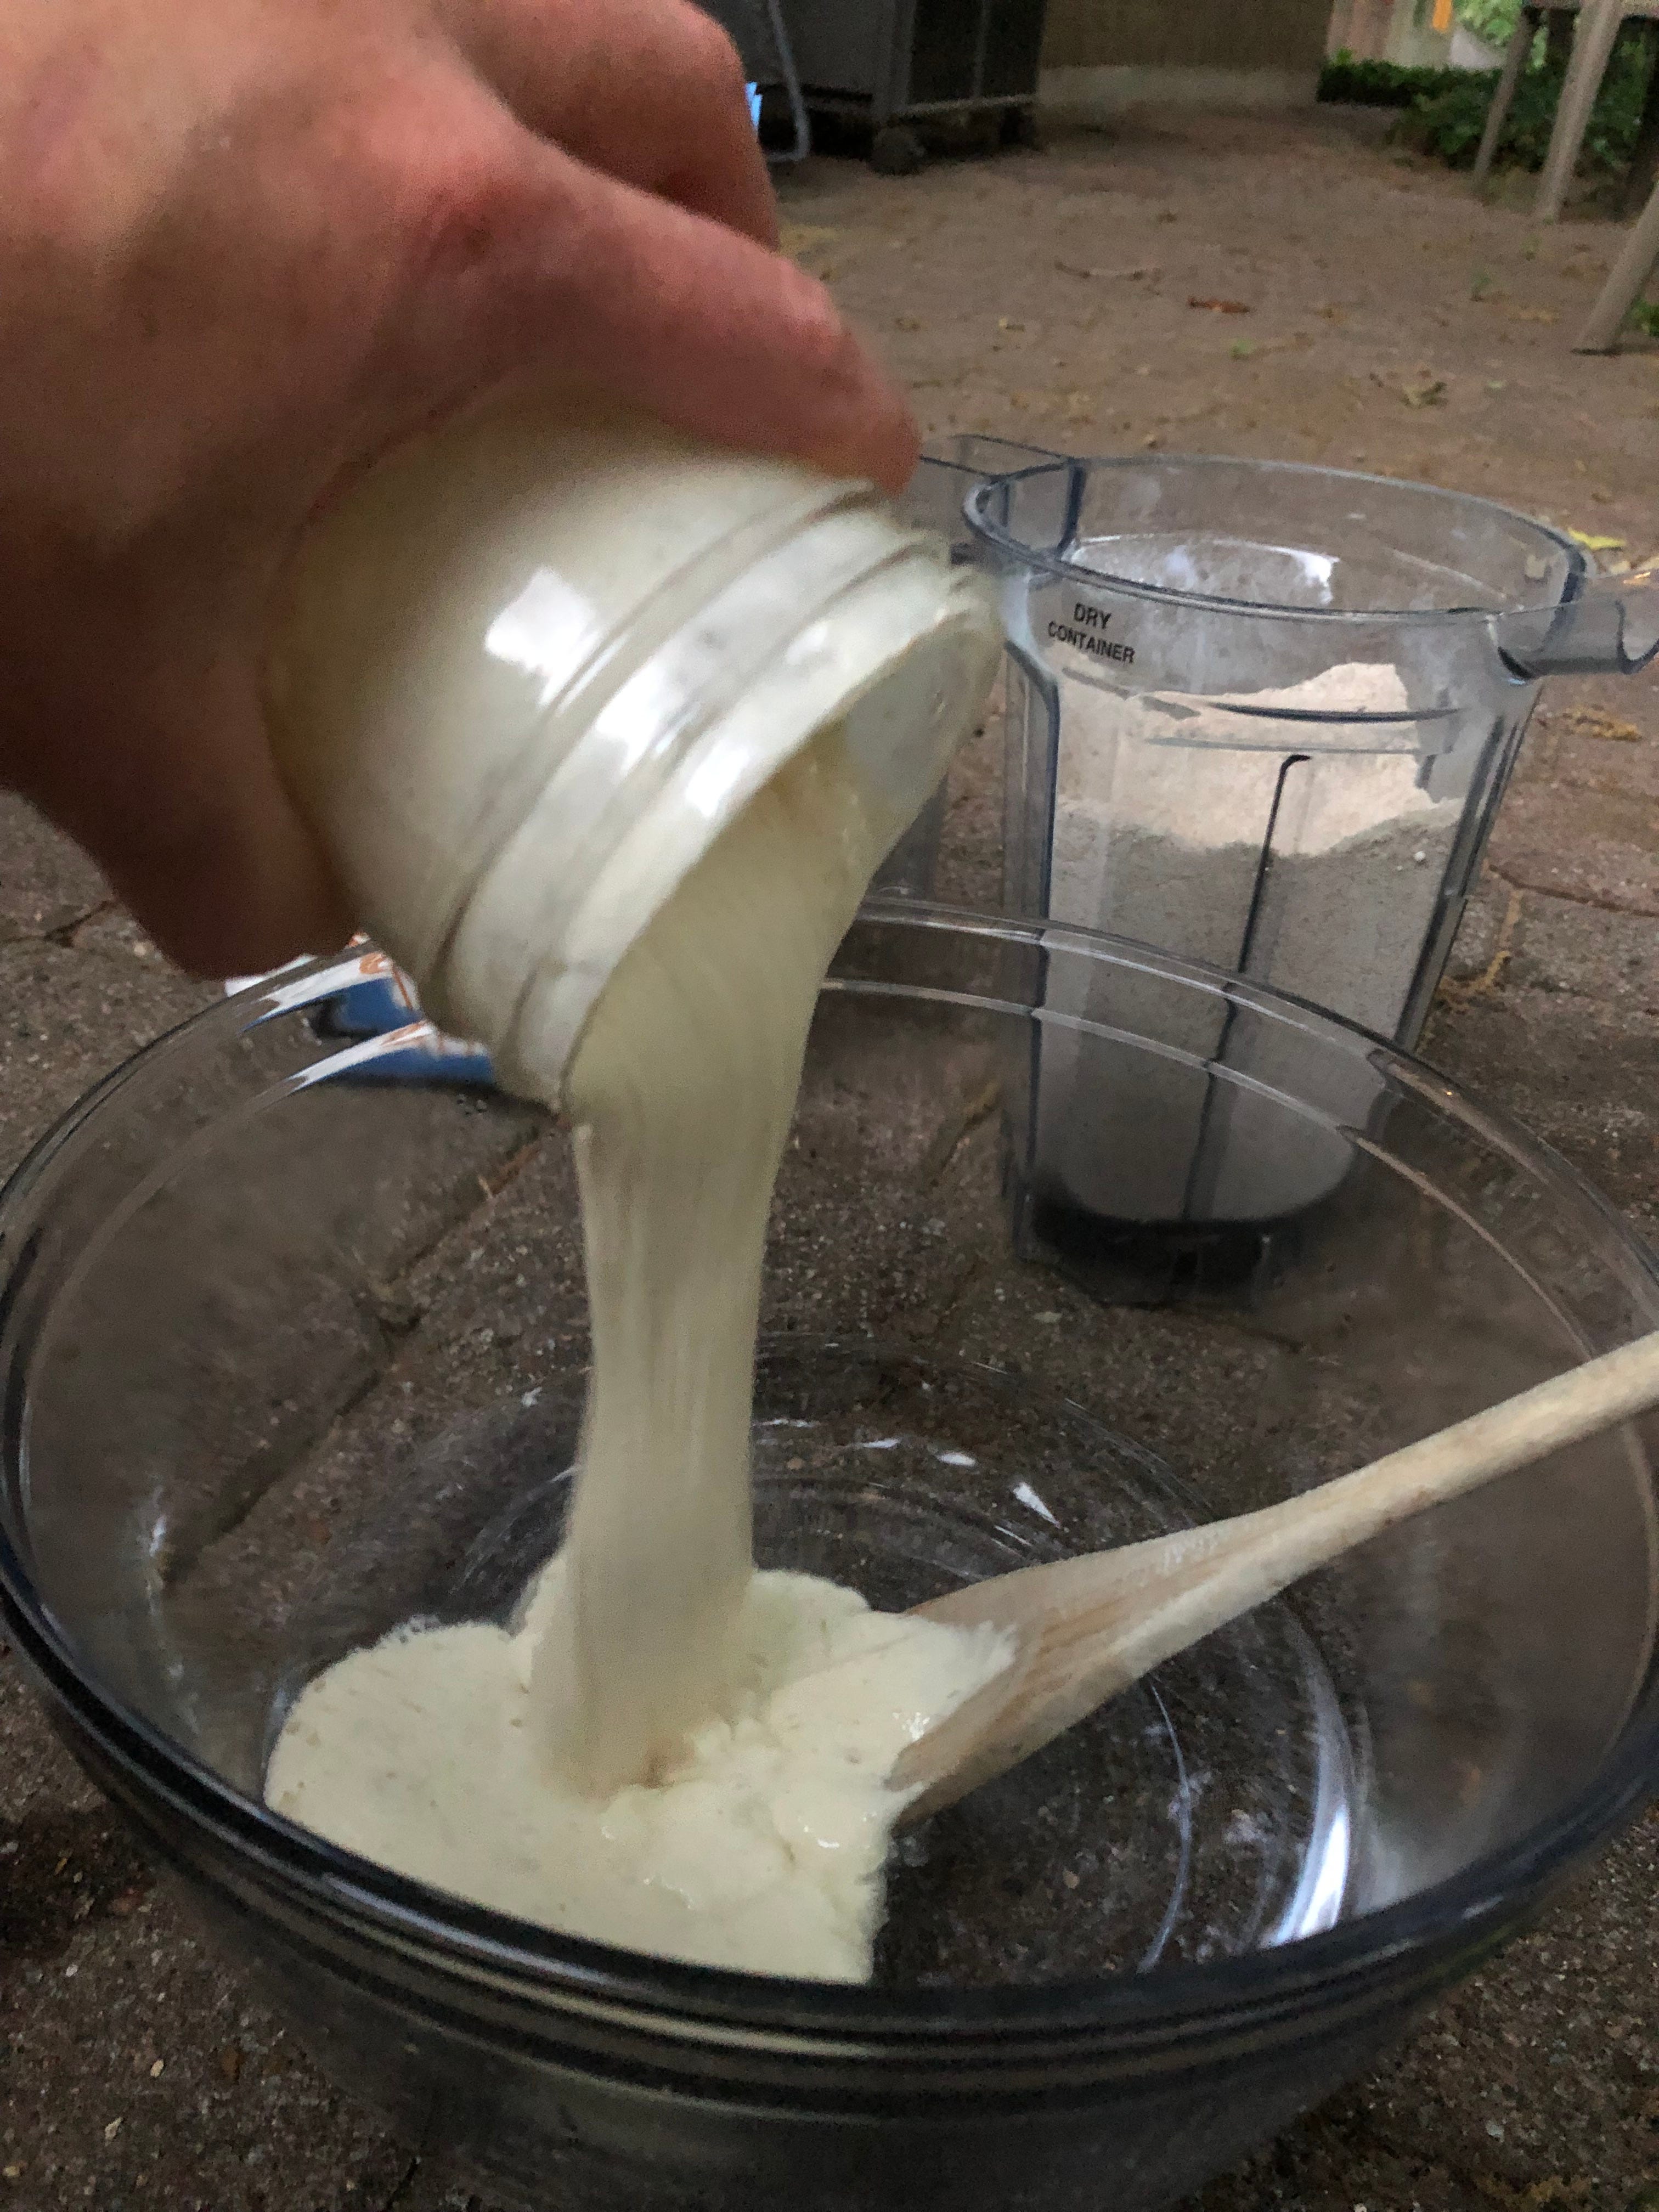
I throw in a small handful of salt (about a tablespoon?) and use a wooden spoon to stir until the mixture looks milky and well combined.
At this point, I fill the blender pitcher, which has the fresh ground flour still in it, up to the brim with the organic bread flour I used to feed the starter- about 5 cups of flour total (approximately 3 cups fresh, 2 cups bread flour). I feel like this is a good balance between nutrient dense fresh ground flour and the nice lift that the bread flour provides. I used to make my bread 100% fresh ground, but the coarse wheat bran makes for a more dense bread.

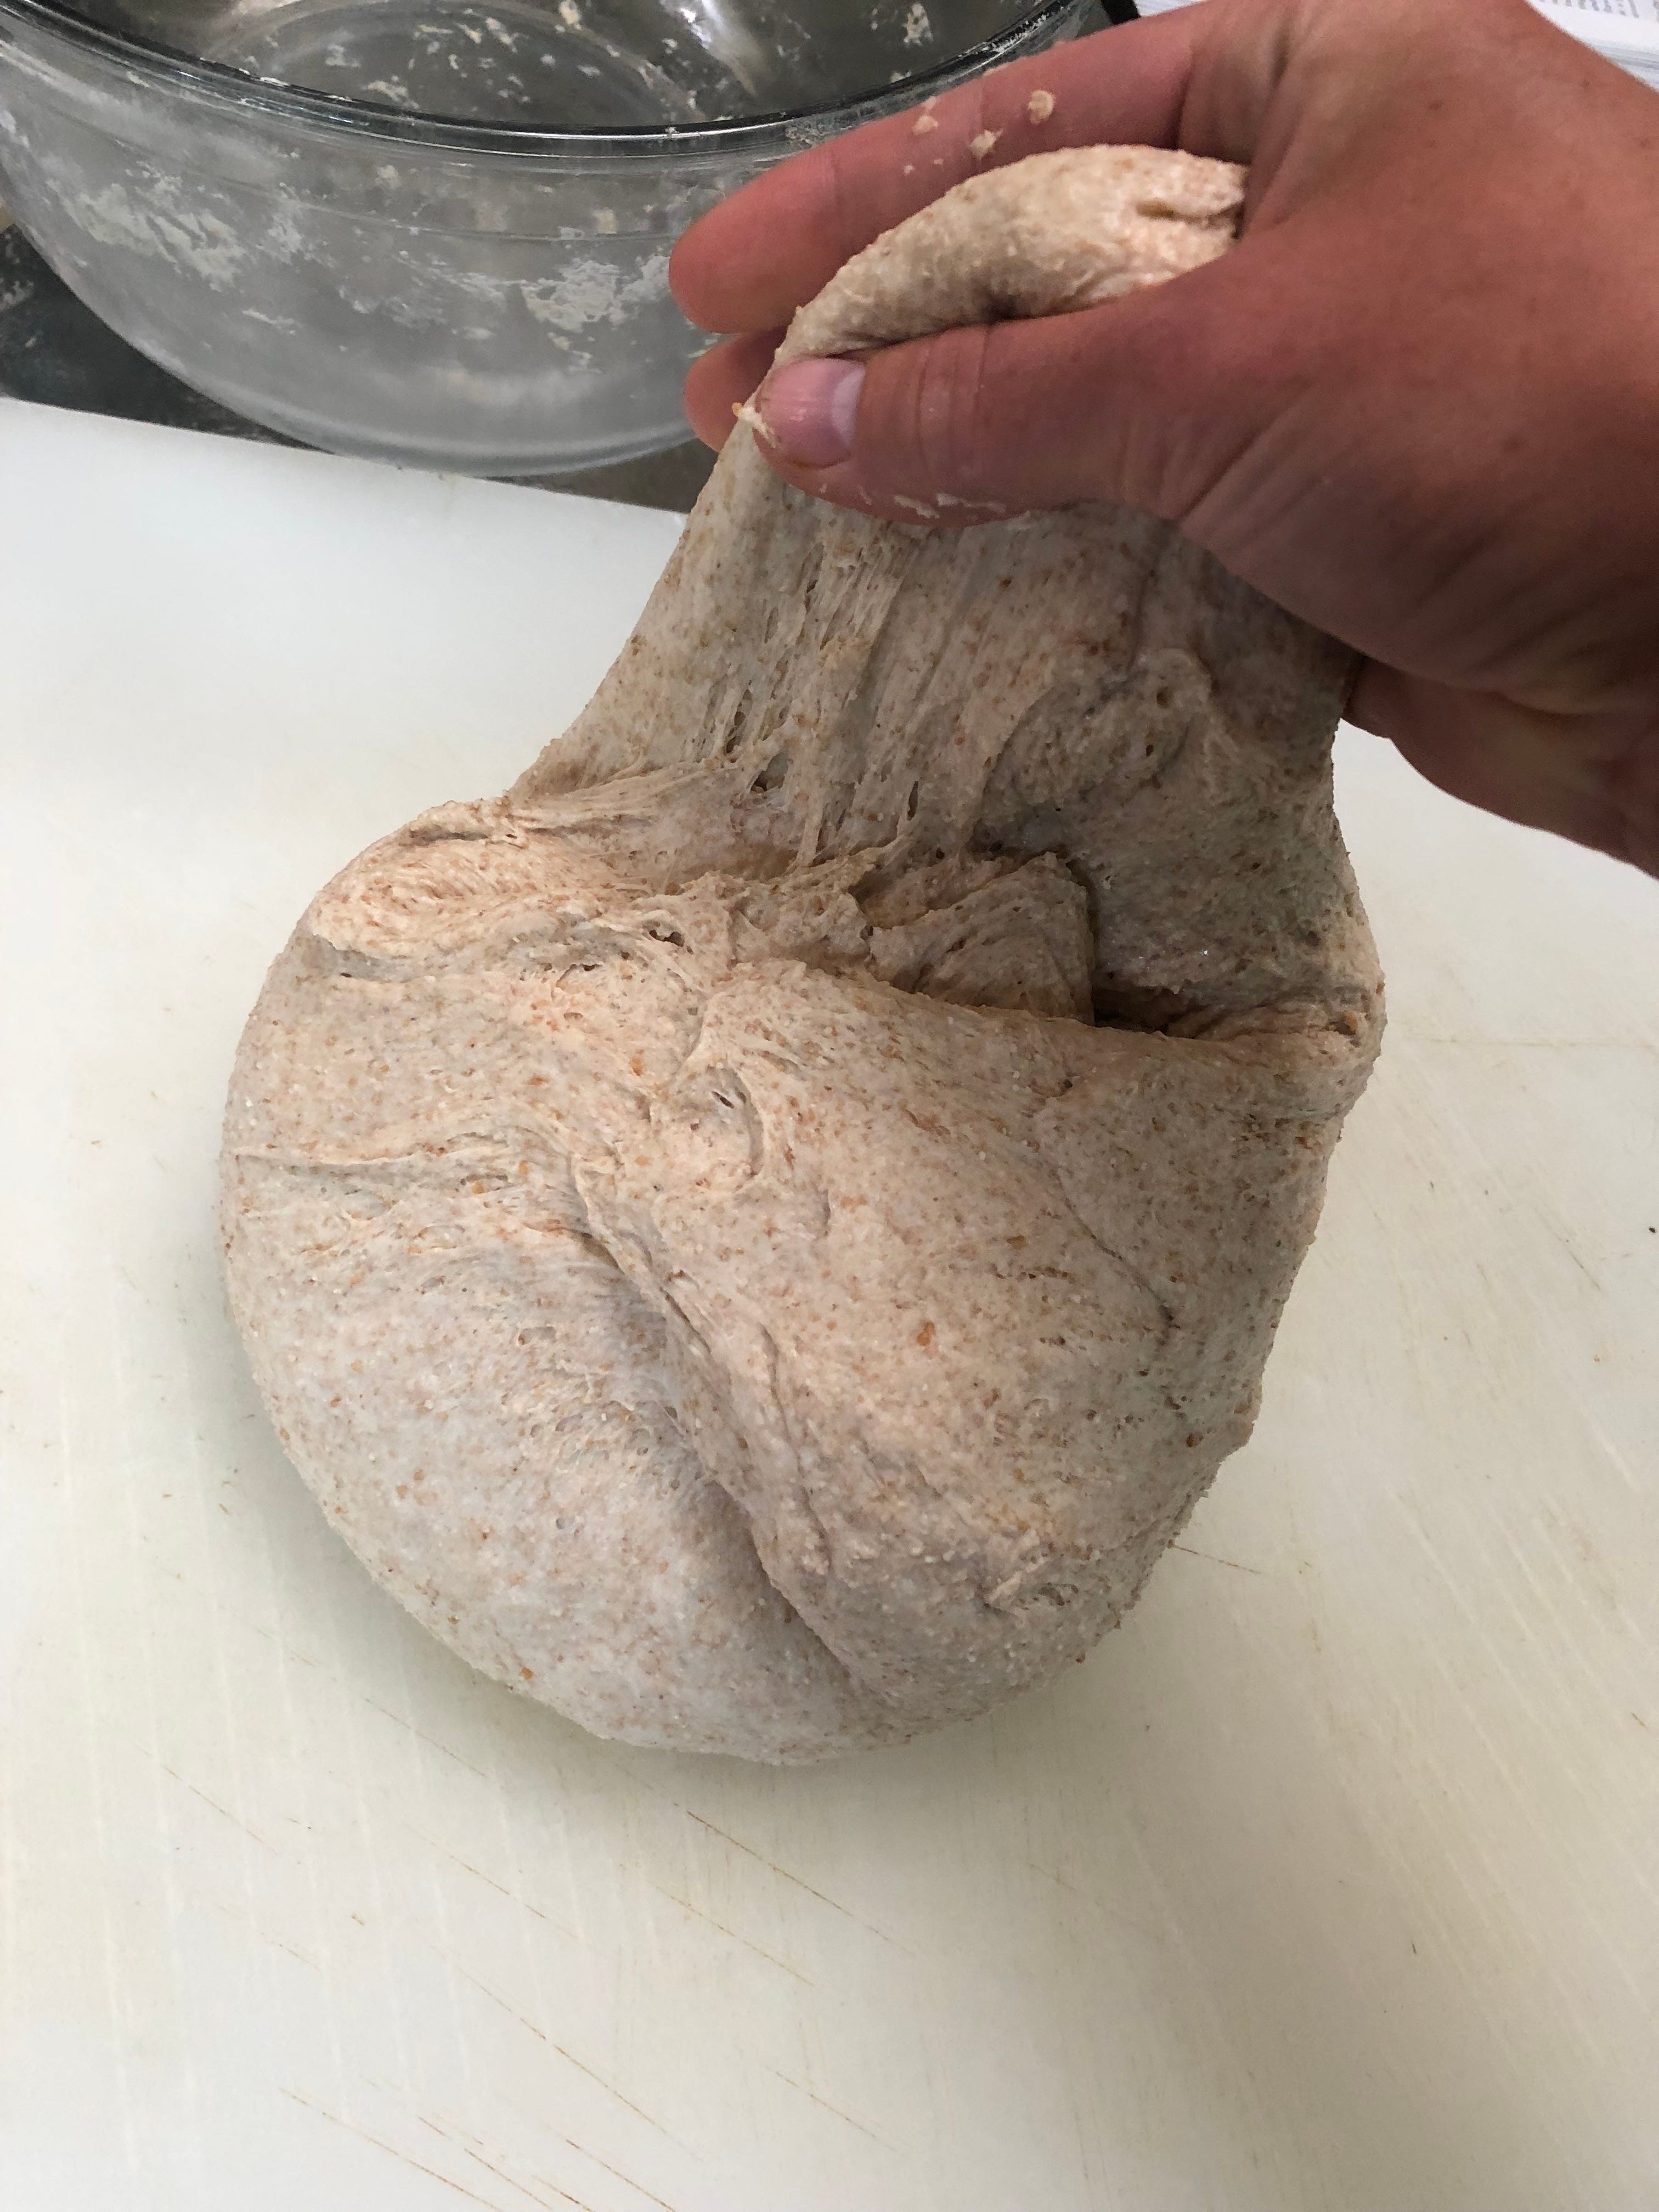
I dump all of the flour into the water mixture and mix with the wooden spoon until mostly combined. If the dough is clearly too dry at this point, I’ll add a bit more water and mix it in. I clean off the spoon and set it aside here, as I have broken wooden spoons in the past by trying to continue mixing the thick dough. Using my hands, I stretch and fold the dough, grabbing an edge of the blob, stretching it to the opposite side, rotating the bowl a bit, are repeating until the dough becomes elastic and doesn’t tear as much as it did at first.
Now, since my hands are doughy, I’ll wash them off, also washing any dishes in the sink while I’m there. Before drying my hands off, I run a wet finger around the edge of my bread bowl so that plastic wrap will stick properly. I cover the bowl and set it aside for the night. If it’s cold out, I’ll leave it on the counter; if it’s warm, I’ll put it in the fridge so it doesn’t over proof.
For reference, this entire process of preparing the dough takes me about 10 minutes.

Baking day
The following morning: When I hit the kitchen again to make breakfast and coffee, around 0700, I pull the dough out of the fridge to warm up. I’ll stretch and fold it again once it’s reached room temperature; I’ve noticed that it’s quite stiff when I try to work with it cold, and that causes it to tear rather than stretch nicely. For a loaf this size, that may take an hour or so. If I have to work that morning (I’m a part time receptionist), I may even wait until lunchtime when I get home to stretch and fold it. That’s alright- it’s a flexible process.
Mid-afternoon, I put my cast iron Dutch oven (with the lid) in the oven and set the temperature to preheat at 450 degrees Fahrenheit.
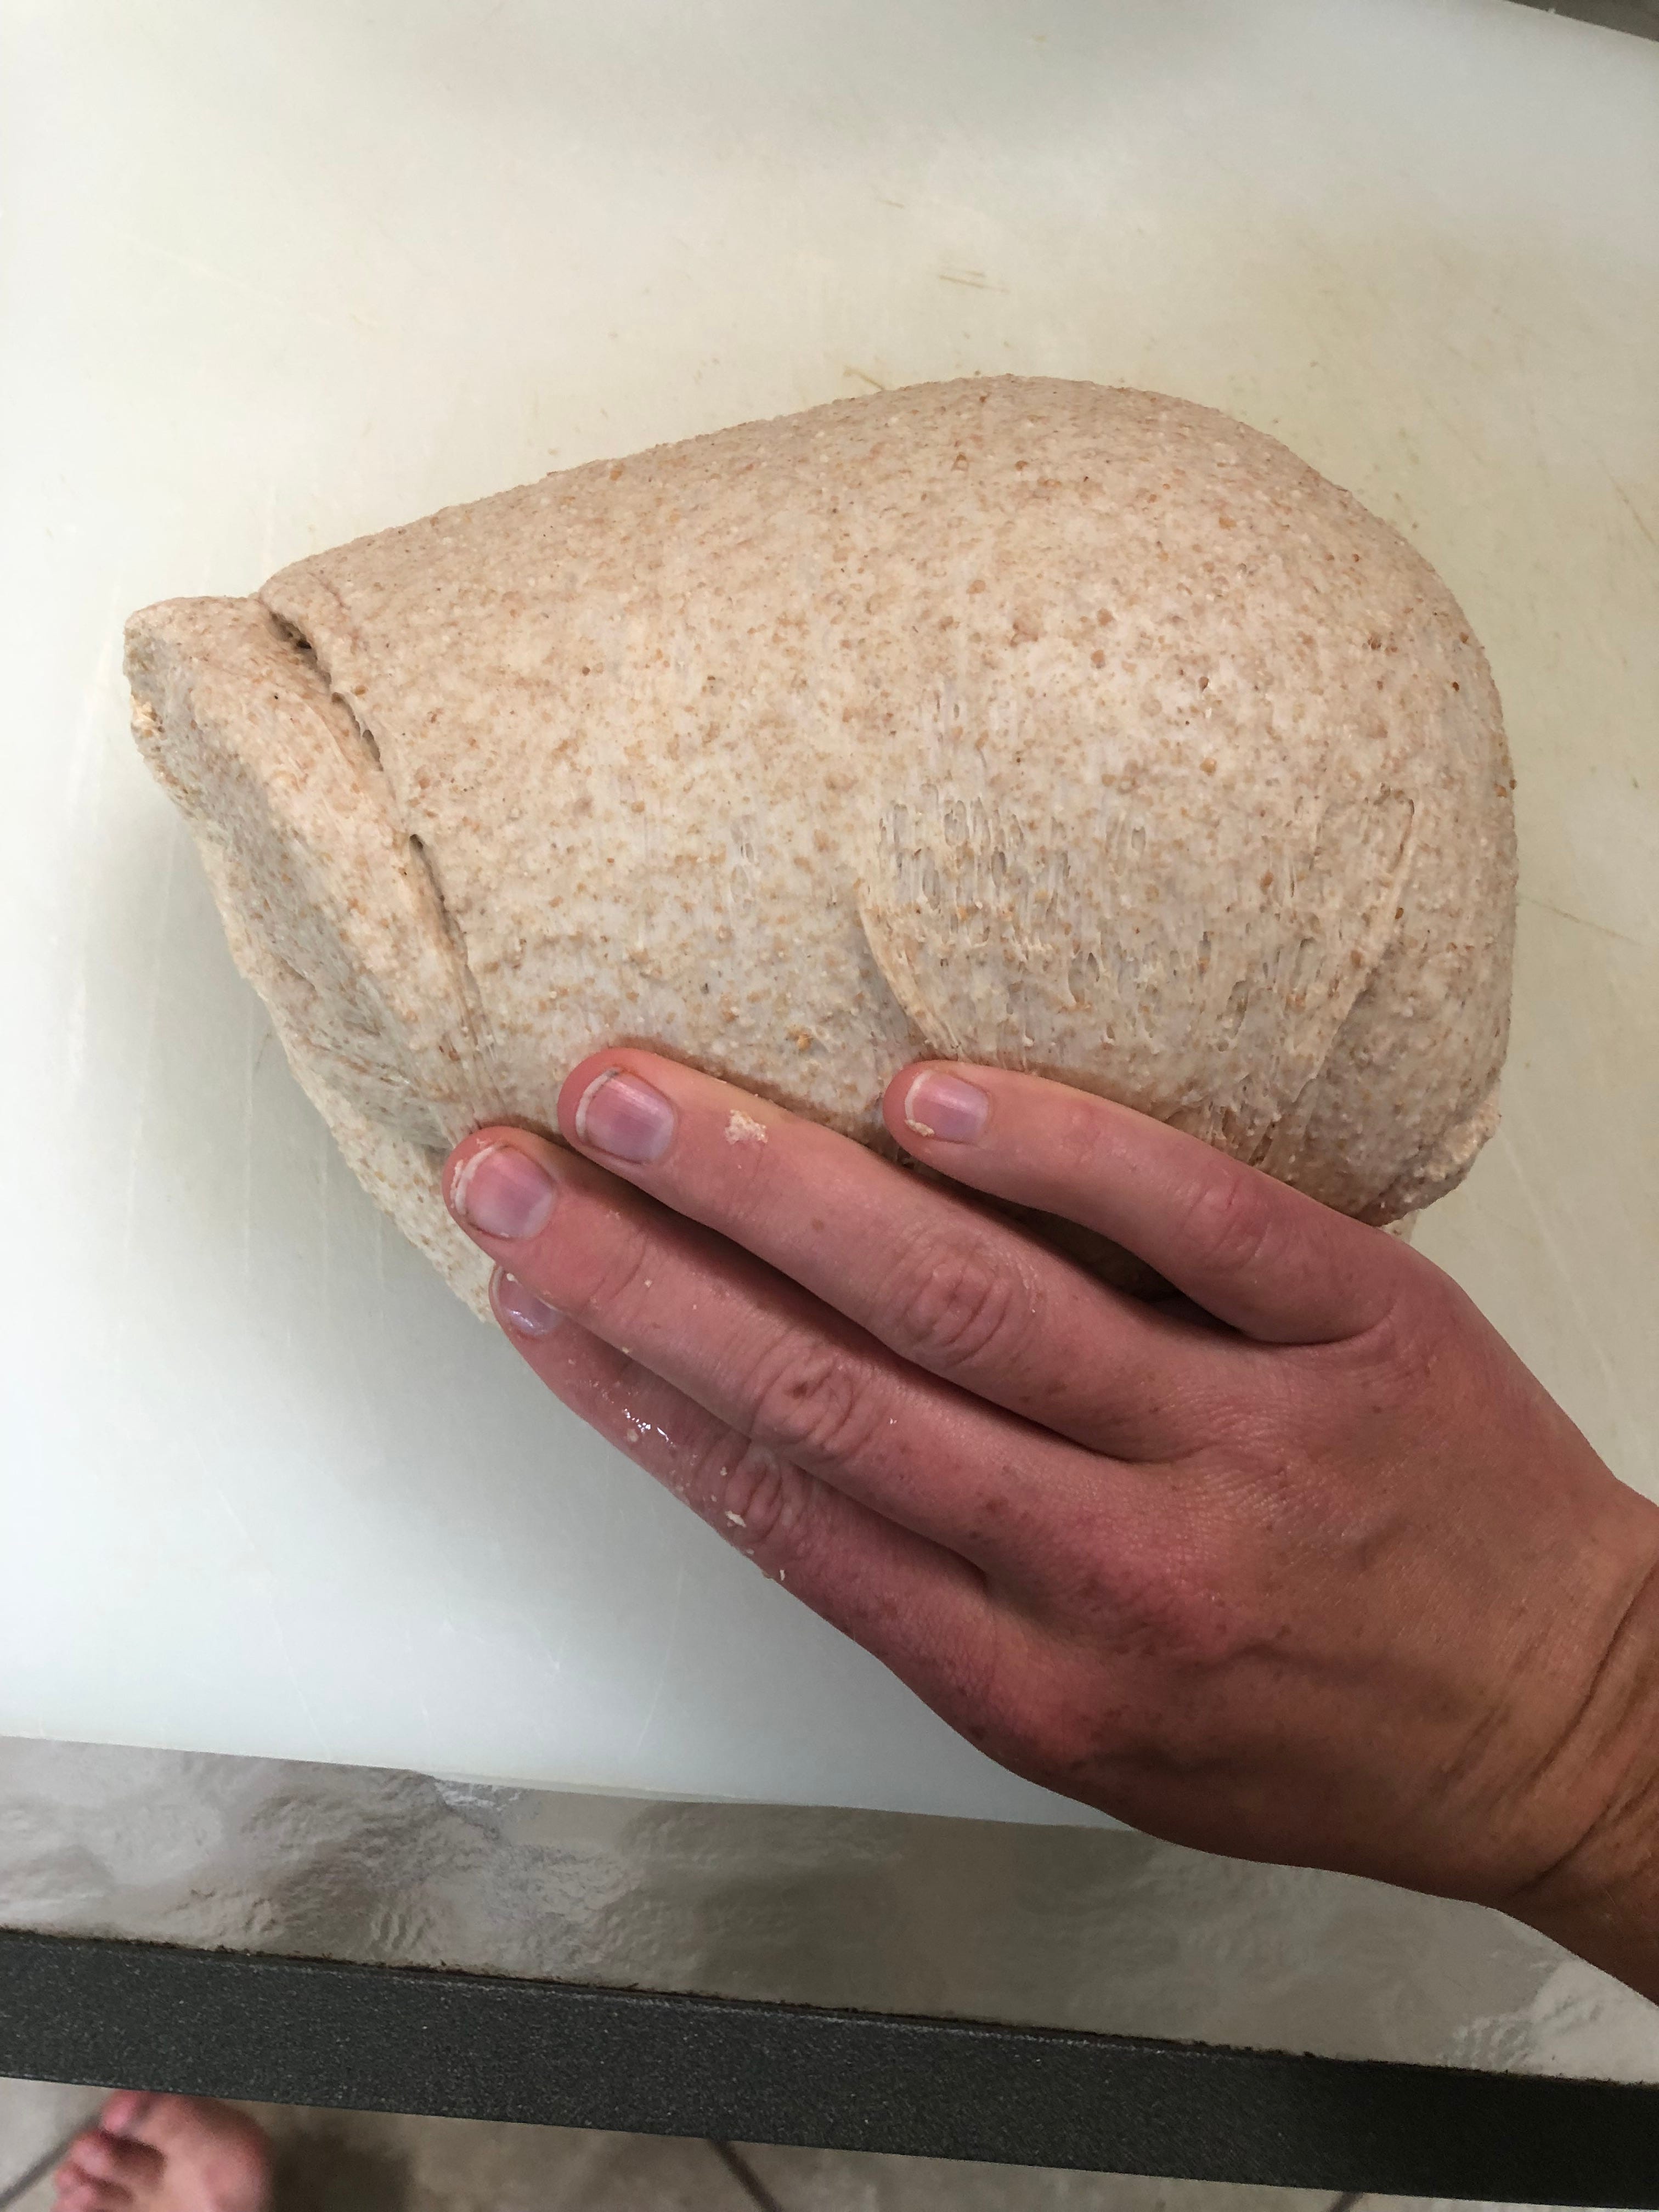
While that preheats, I shape my loaf. First, I dump the dough onto a big cutting board. The process may vary at this point depending on how my loaf has varied (because, you know, I don’t exactly measure things). But most of the time, it looks like this: I do a few slow and gentle stretch and folds to give the dough a ball shape while trying not to pop too many bubbles (we want loft!). I’ll then make tension in the loaf by putting my hands just under the sides of the loaf and gently pulling one under the loaf, while holding the other still for resistance. I do this repeatedly until the loaf is good and bouncy- when you poke it, it should return to its prior shape within a few seconds. This all only takes a couple minutes, so once the loaf is to your liking, you can let it sit and rise a bit until the oven is preheated. I usually flip my glass bowl over it upside down to keep it from drying out in the interim.
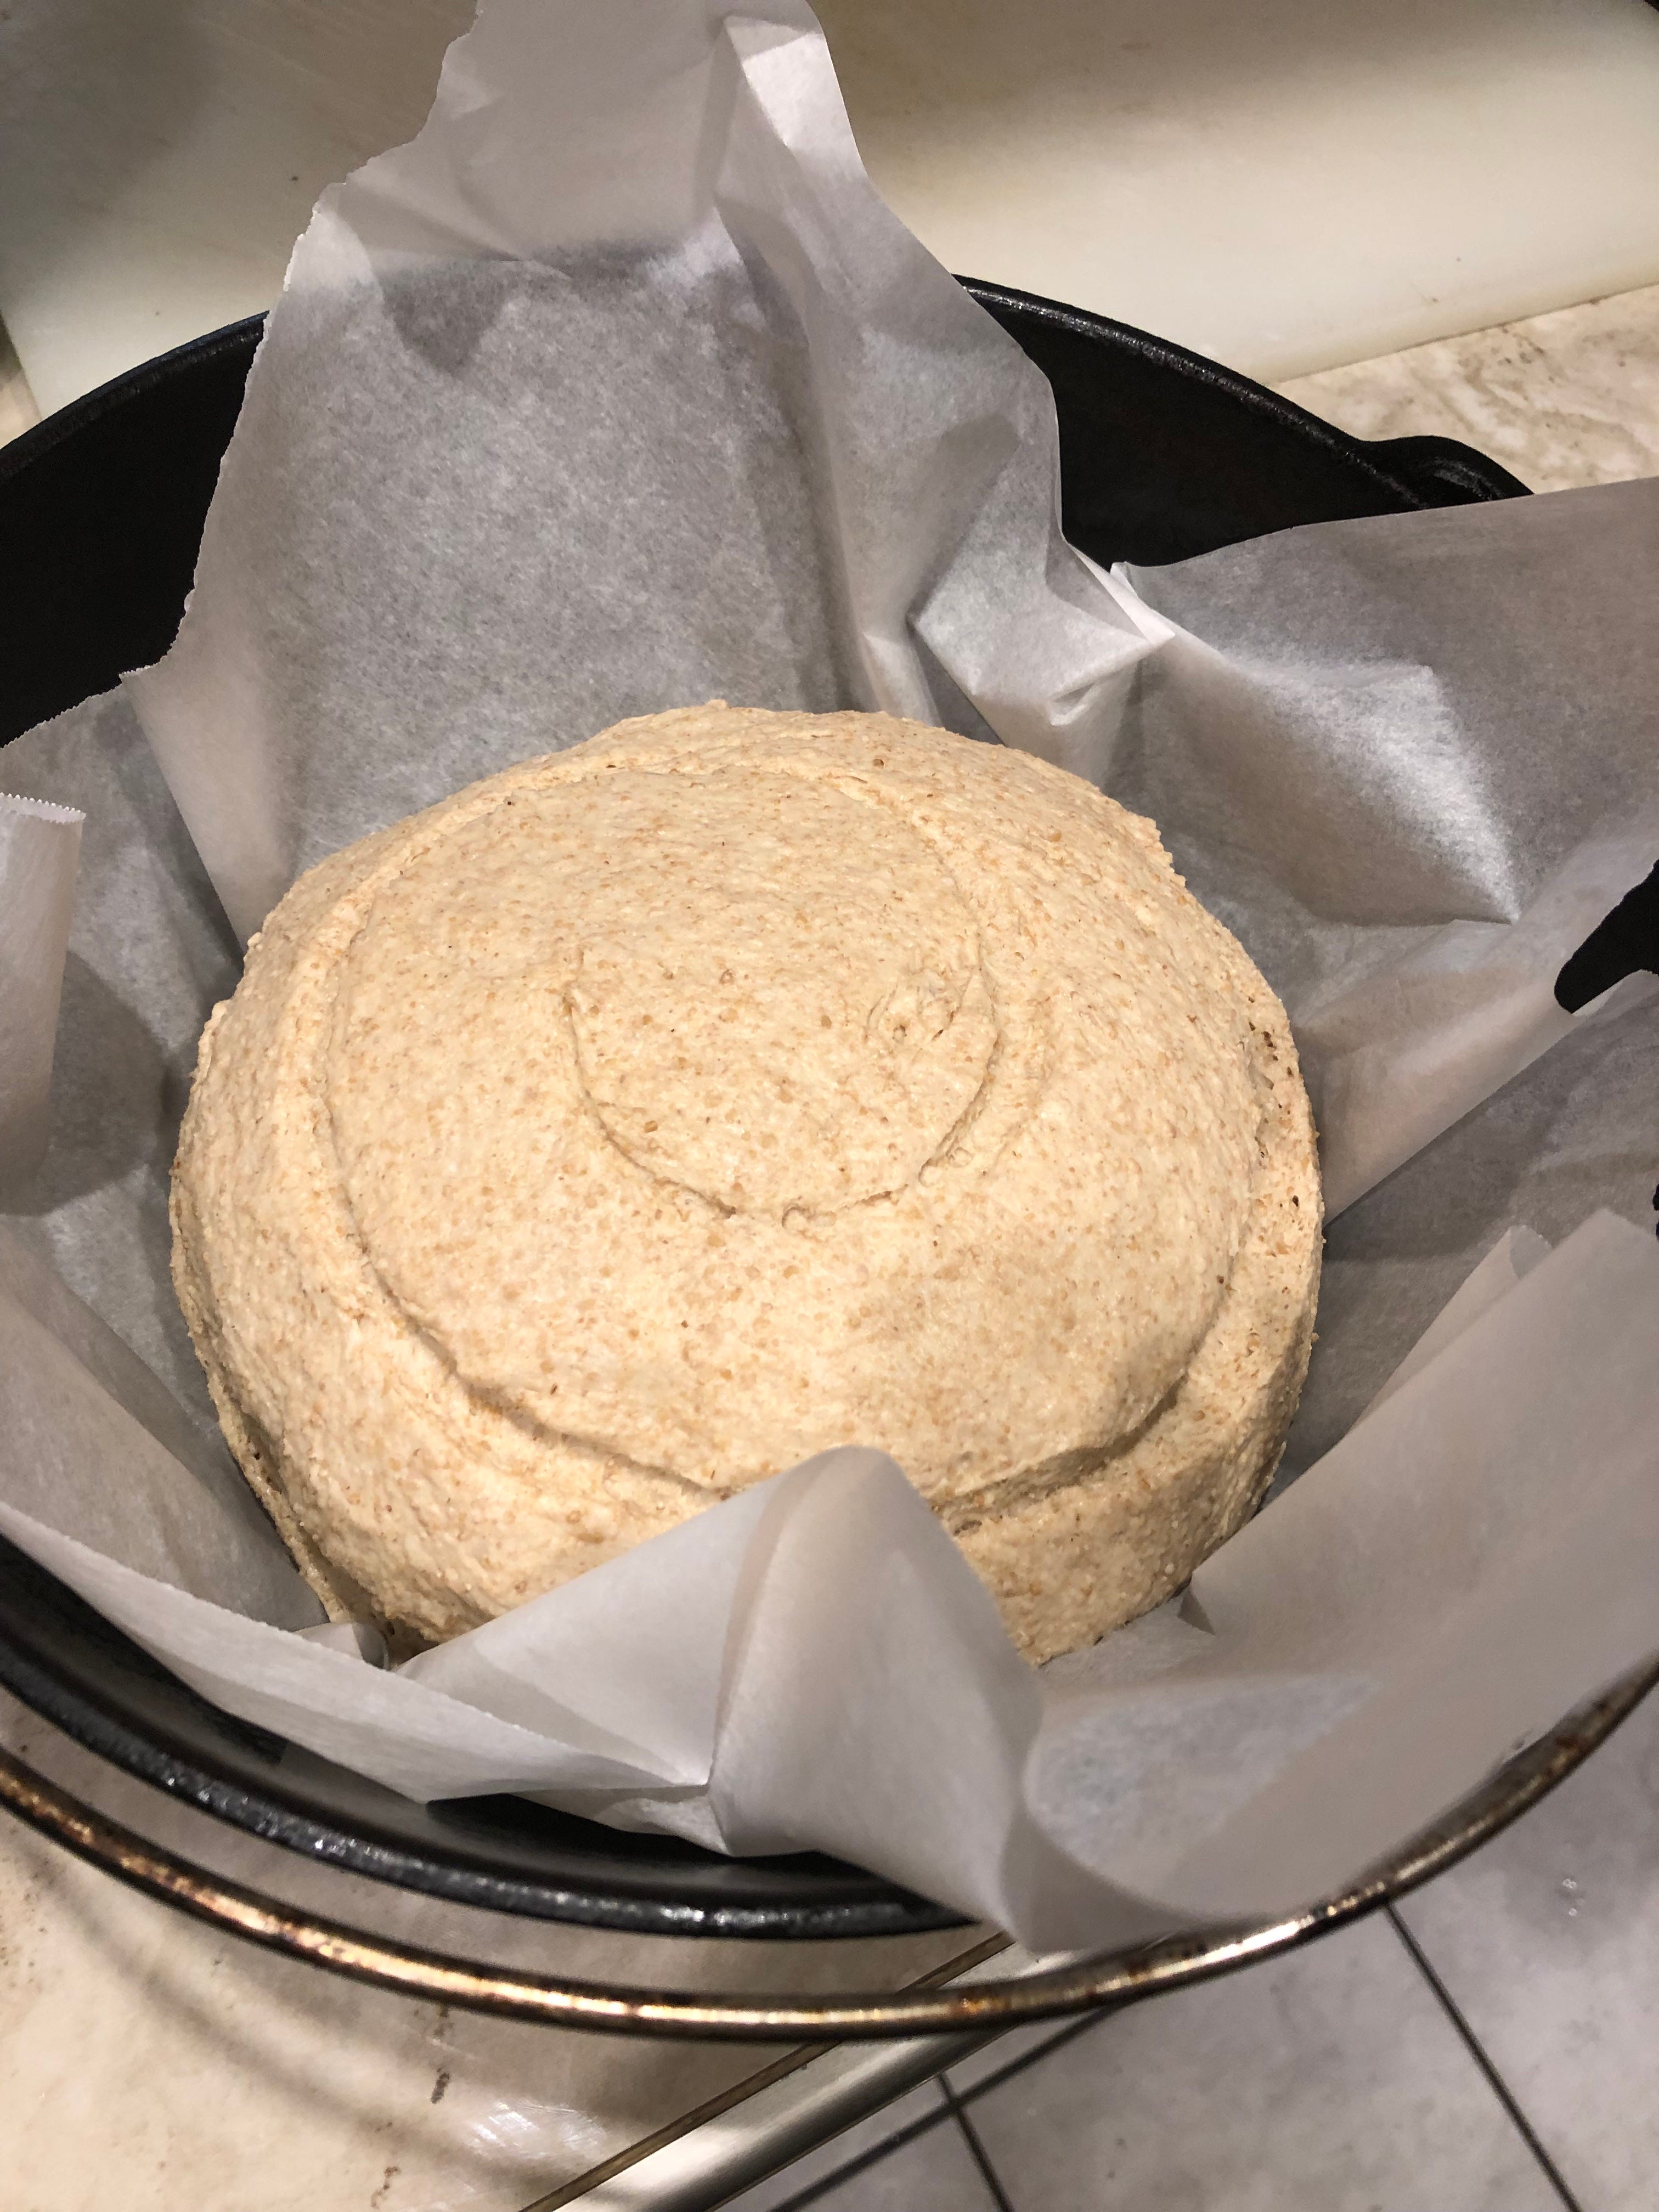
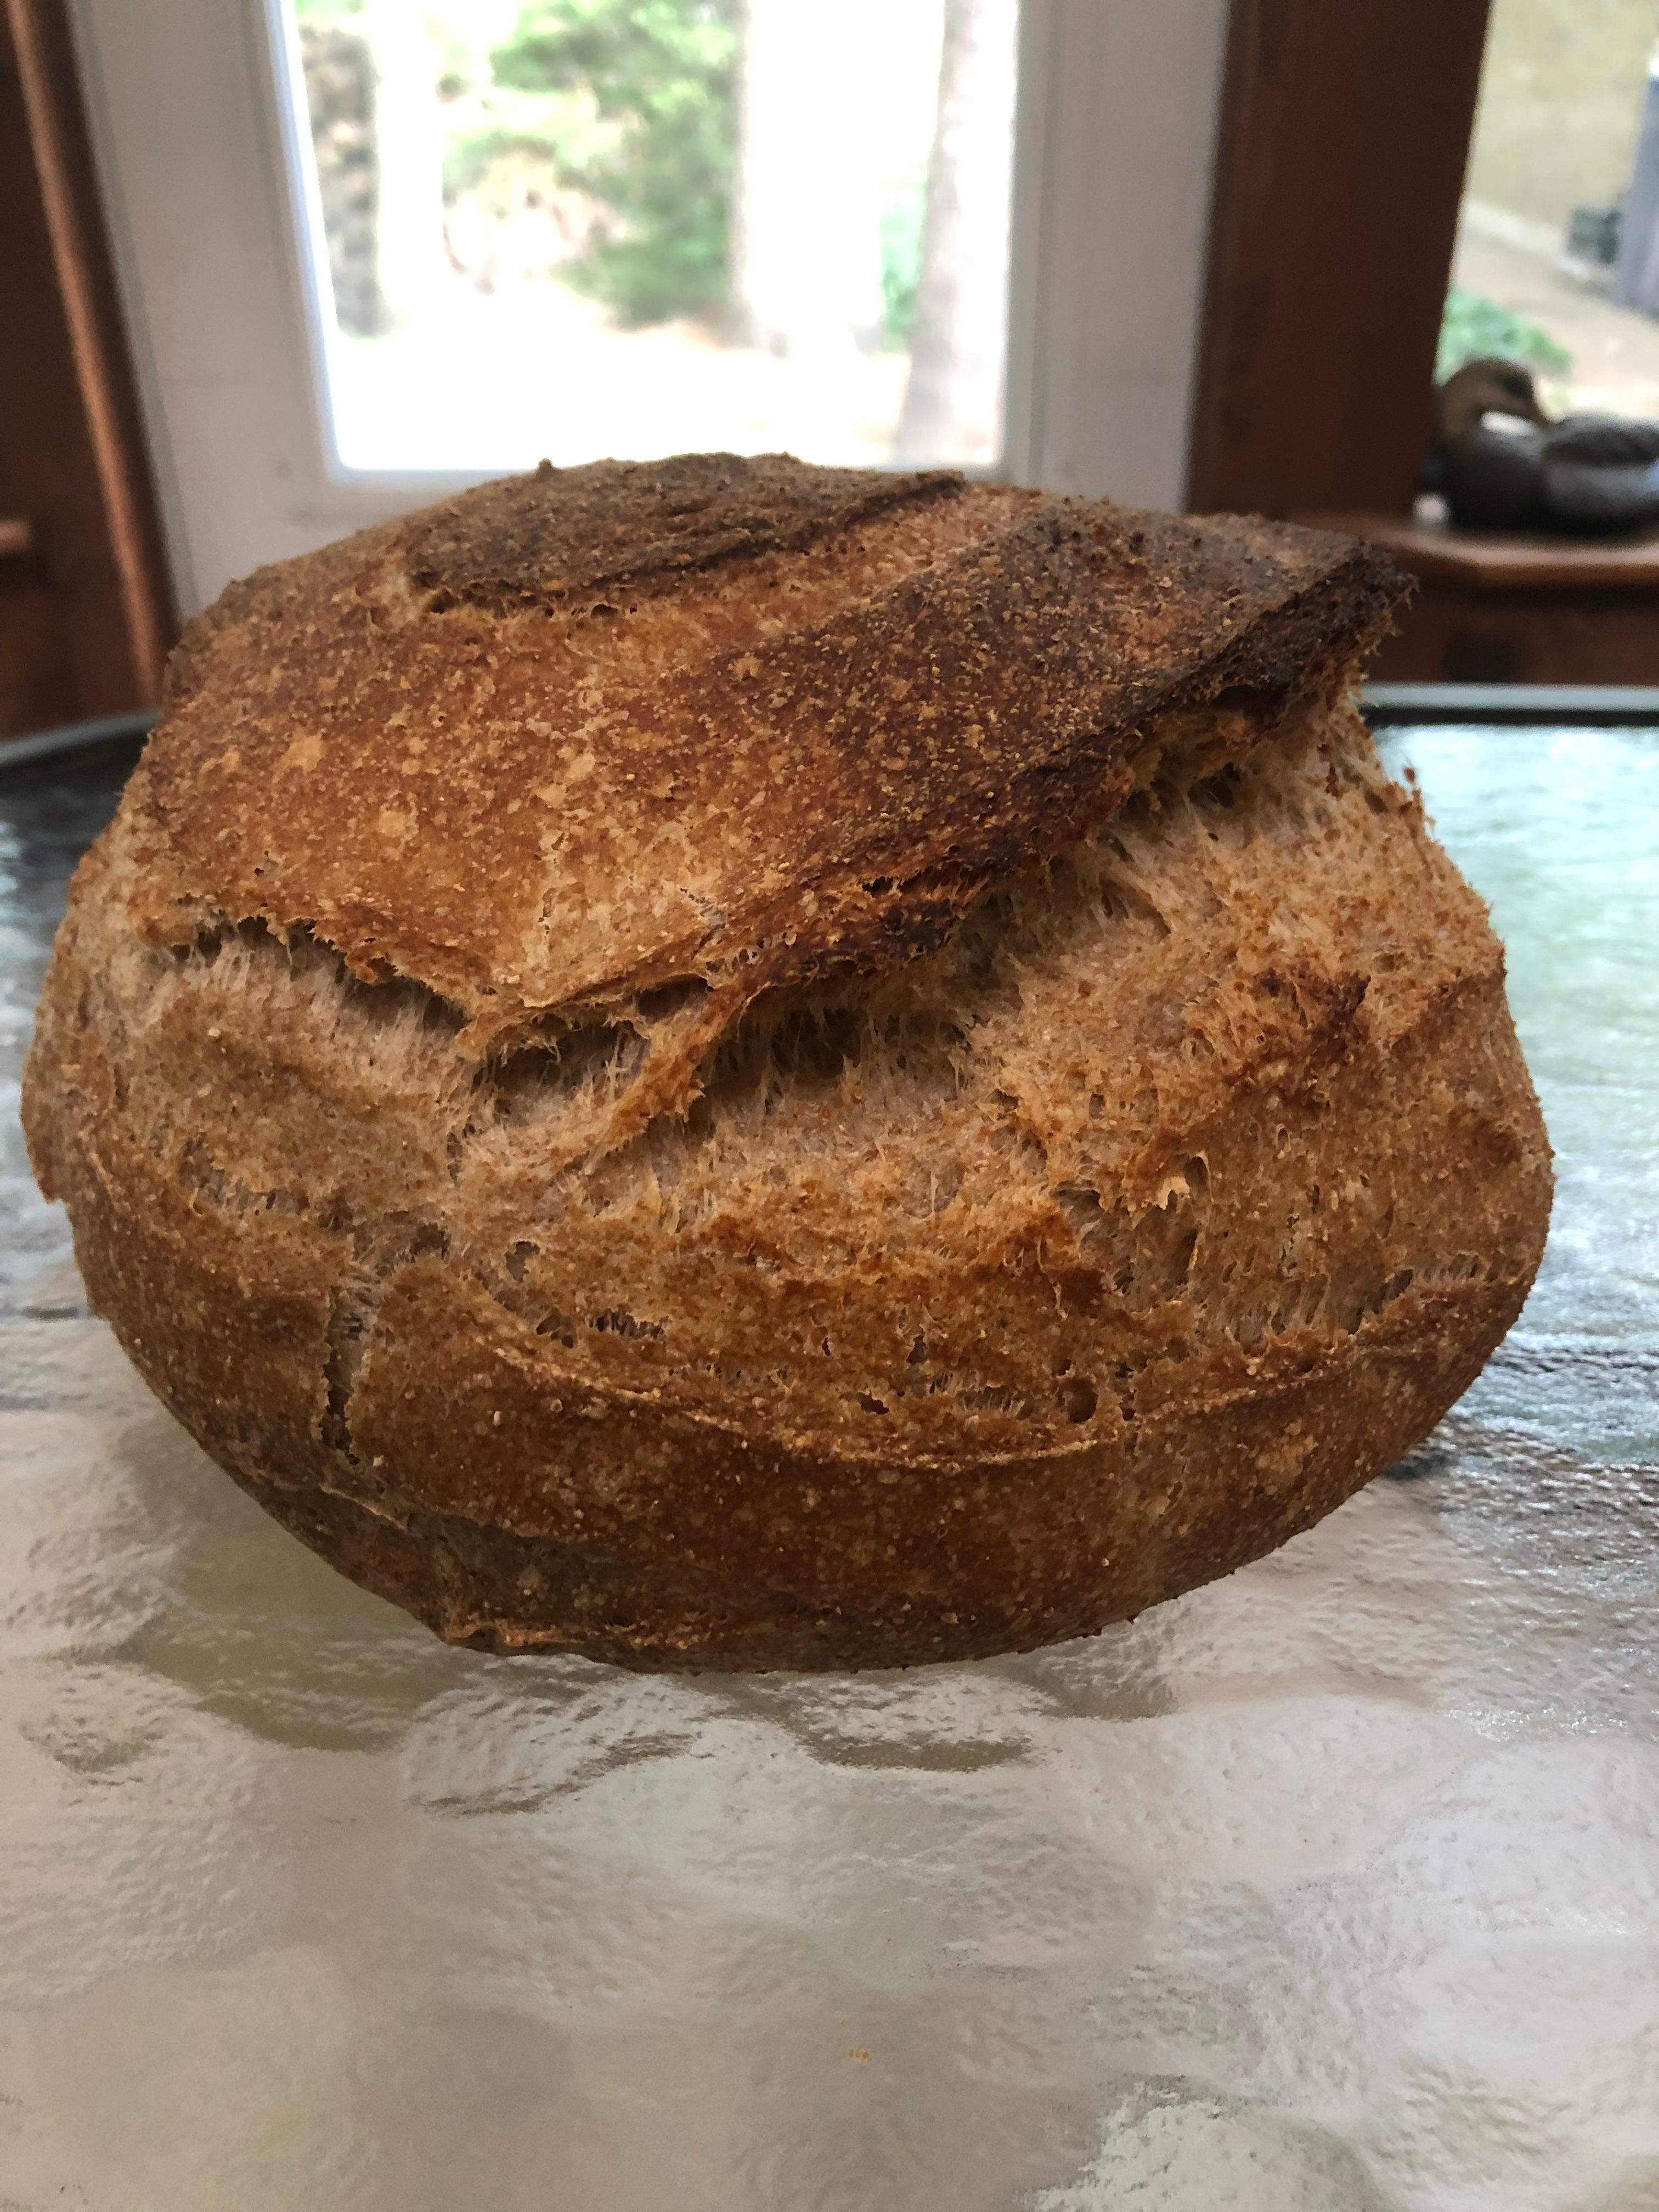
Once the Dutch oven is preheated, I tear a square of parchment paper, put the dough on it, and score it with a sharp knife. Sometimes I’ll dust it with bread flour prior to scoring to make it prettier… You can get as creative as you’d like (or keep it as simple as you’d like) with the scoring. I then lift the parchment paper and dough into the piping hot Dutch oven, replace the lid, and bake it at 450 for 30 minutes. After 30 minutes, I remove the lid and bake for another 10 minutes.
Once the bread is done, I let it cool on a rack for a good couple hours before slicing.
And there you have it. What does your sourdough practice look like?